Developing a RESTful API can be a complex task, involving the creation of multiple layers such as controllers and services. However, with the advent of Spring Data REST, we can now simplify this process and say goodbye to the traditional controller and service layers.
Table of Contents
What is Spring Data REST?
Spring Data REST is a powerful framework that allows us to expose our JPA repositories as RESTful endpoints automatically. It eliminates the need for creating explicit controllers and services, reducing the boilerplate code and making our application more concise and maintainable.
Getting Started with Spring Data REST
Let’s dive into a step-by-step guide on how to use Spring Data REST to build a CRUD API:
Step 1: Set Up Project
First, we need to set up a Spring Boot project with Spring Data JPA. Our pom.xml file look like below:
<?xml version="1.0" encoding="UTF-8"?>
<project xmlns="http://maven.apache.org/POM/4.0.0"
	xmlns:xsi="http://www.w3.org/2001/XMLSchema-instance"
	xsi:schemaLocation="http://maven.apache.org/POM/4.0.0 https://maven.apache.org/xsd/maven-4.0.0.xsd">
	<modelVersion>4.0.0</modelVersion>
	<parent>
		<groupId>org.springframework.boot</groupId>
		<artifactId>spring-boot-starter-parent</artifactId>
		<version>3.2.2</version>
	</parent>
	<groupId>com.codersathi</groupId>
	<artifactId>spring-data-rest</artifactId>
	<version>0.0.1-SNAPSHOT</version>
	<name>spring-data-rest</name>
	<description>Demo application for spring data jpa with swagger ui</description>
	<properties>
		<java.version>17</java.version>
	</properties>
	<dependencies>
		<dependency>
			<groupId>org.springframework.boot</groupId>
			<artifactId>spring-boot-starter-data-rest</artifactId>
		</dependency>
		<dependency>
			<groupId>org.springframework.boot</groupId>
			<artifactId>spring-boot-starter-data-jpa</artifactId>
		</dependency>
		<dependency>
			<groupId>com.mysql</groupId>
			<artifactId>mysql-connector-j</artifactId>
			<scope>runtime</scope>
		</dependency>
		<dependency>
			<groupId>org.projectlombok</groupId>
			<artifactId>lombok</artifactId>
			<optional>true</optional>
		</dependency>
		<dependency>
			<groupId>org.springframework.boot</groupId>
			<artifactId>spring-boot-starter-test</artifactId>
			<scope>test</scope>
		</dependency>
		<dependency>
			<groupId>org.springdoc</groupId>
			<artifactId>springdoc-openapi-starter-webmvc-ui</artifactId>
			<version>2.2.0</version>
		</dependency>
	</dependencies>

	<build>
		<plugins>
			<plugin>
				<groupId>org.springframework.boot</groupId>
				<artifactId>spring-boot-maven-plugin</artifactId>
				<configuration>
					<excludes>
						<exclude>
							<groupId>org.projectlombok</groupId>
							<artifactId>lombok</artifactId>
						</exclude>
					</excludes>
				</configuration>
			</plugin>
		</plugins>
	</build>

</project>
Where I’ve used following dependency:
- Spring Data Rest
- Spring Data JPA
- MySQL Connector
- Lombok
- Springdoc-openapi
Step 2: Create Entity
Define entity class, such as Cricketer, with appropriate annotations.
For example:
package com.codersathi;

import jakarta.persistence.Entity;
import jakarta.persistence.GeneratedValue;
import jakarta.persistence.GenerationType;
import jakarta.persistence.Id;
import lombok.Data;

@Data
@Entity
public class Cricketer {
	@Id
	@GeneratedValue(strategy = GenerationType.IDENTITY)
	private Long id;
	private String name;
	private int noOfCenturies;
}
Step 3: Create Repository
Create a repository interface that extends JpaRepository.
For example:
package com.codersathi;

import org.springframework.data.jpa.repository.JpaRepository;

public interface CricketerRepository extends JpaRepository<Cricketer, Long> {

}
The @RepositoryRestResource annotation tells Spring Data REST to expose this repository as a RESTful endpoint.
Step 4: application.properties file
spring.datasource.url= jdbc:mysql://localhost:3306/spring_data_rest?createDatabaseIfNotExist=true
spring.datasource.username = root
spring.datasource.password=root

spring.jpa.hibernate.ddl-auto=update
Step 5: Run Application
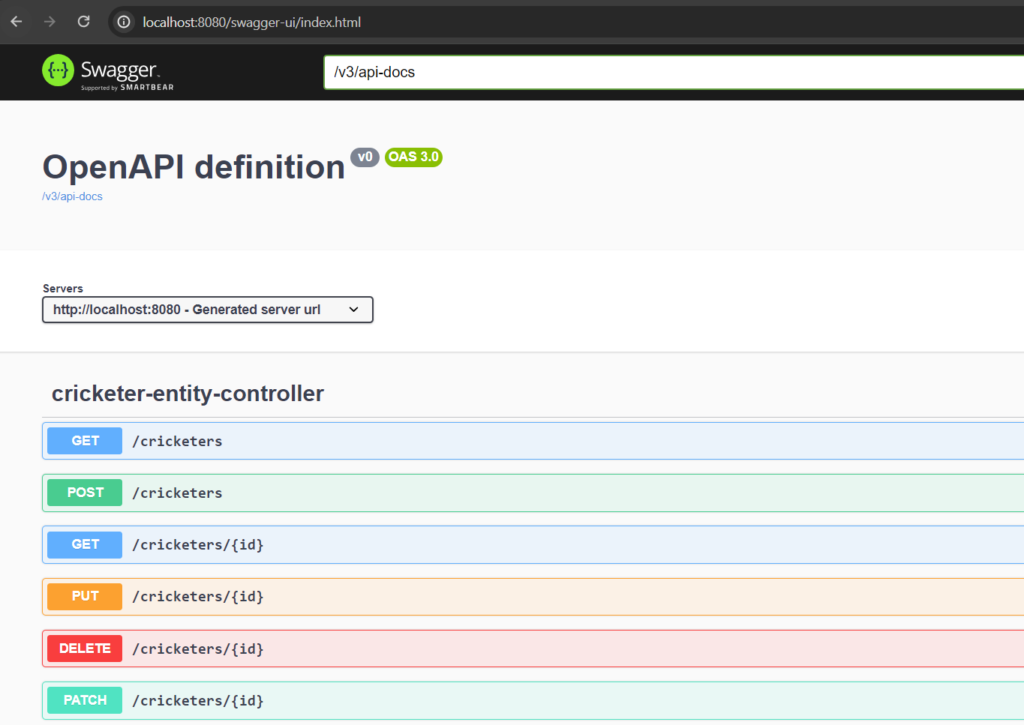
Now, we can run our application and navigate to http://localhost:8080. Spring Data REST automatically generates RESTful endpoints for our repository, such as:
GET /cricketers– Get all cricketersGET /– Get a specific cricketer by IDcricketers/{id}POST /cricketers– Create a new cricketerPUT /– Update an existing cricketercricketers/{id}DELETE /– Delete a cricketercricketers/{id}
Let’s see these APIs in Swagger UI.
Step 6: Use Post API
Let’s create cricketer using the POST API. See the demo below:
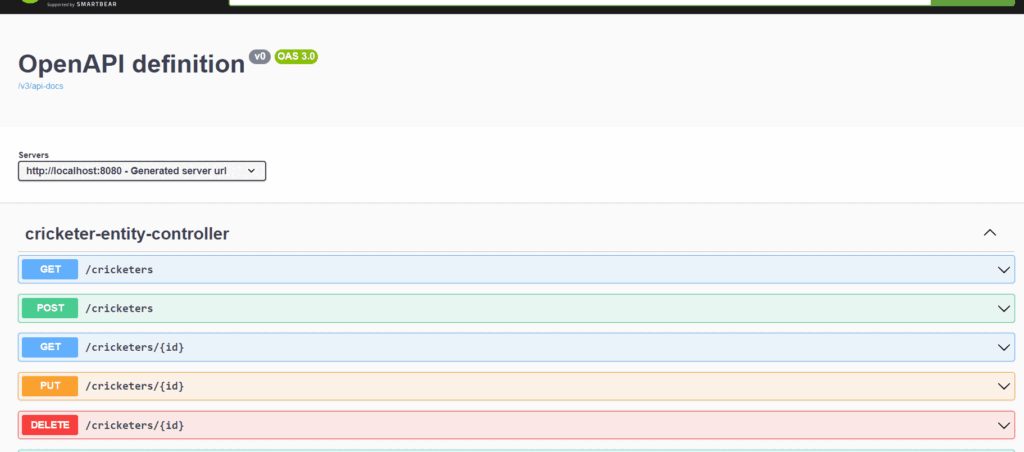
Similarly, we can use other APIs as well.
Customizing Endpoints
Spring Data REST provides several ways to customize our endpoints. We can use annotations such as @RestResource and @Query to modify the default behavior.
Customizing Resource Paths
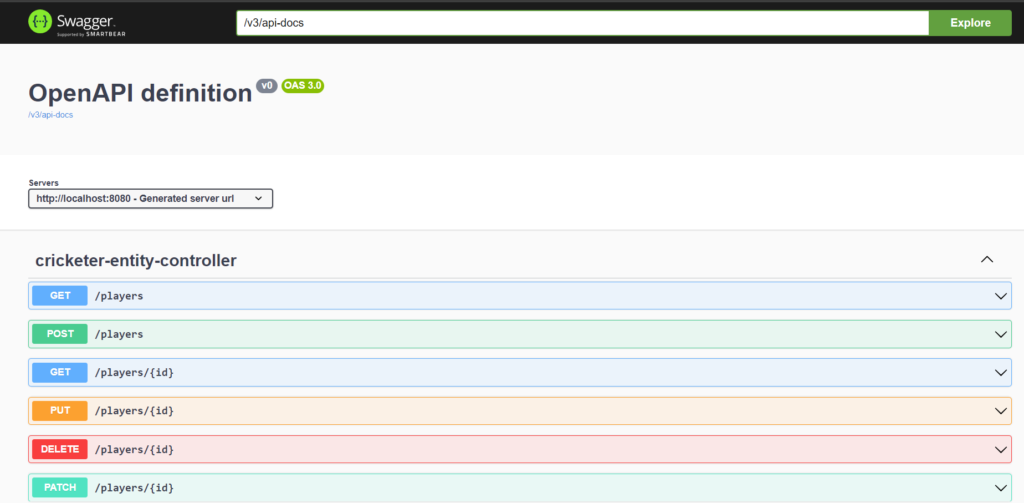
If it is needed to change the resource path, we can use the @RepositoryRestResource annotation with the path attribute.
For example:
package com.codersathi;

import org.springframework.data.jpa.repository.JpaRepository;
import org.springframework.data.rest.core.annotation.RepositoryRestResource;

@RepositoryRestResource(path = "players")
public interface CricketerRepository extends JpaRepository<Cricketer, Long> {

}
Now, the endpoints will be available at /players instead of /cricketers.
See the Swagger UI below:
Custom Query Methods
We can define custom query methods in our repository interface by using either the @Query annotation or JPA Query Methods directly.
In the following example, I’ve added both @Query annonation and method. Either one would be sufficient to work.
For example, to find cricketers by name, we can add the following method:
package com.codersathi;

import java.util.List;

import org.springframework.data.jpa.repository.JpaRepository;
import org.springframework.data.jpa.repository.Query;
import org.springframework.data.repository.query.Param;

public interface CricketerRepository extends JpaRepository<Cricketer, Long> {

	@Query("SELECT c FROM Cricketer c WHERE c.name LIKE %:name%")
	List<Cricketer> findByNameContaining(@Param("name") String name);
}
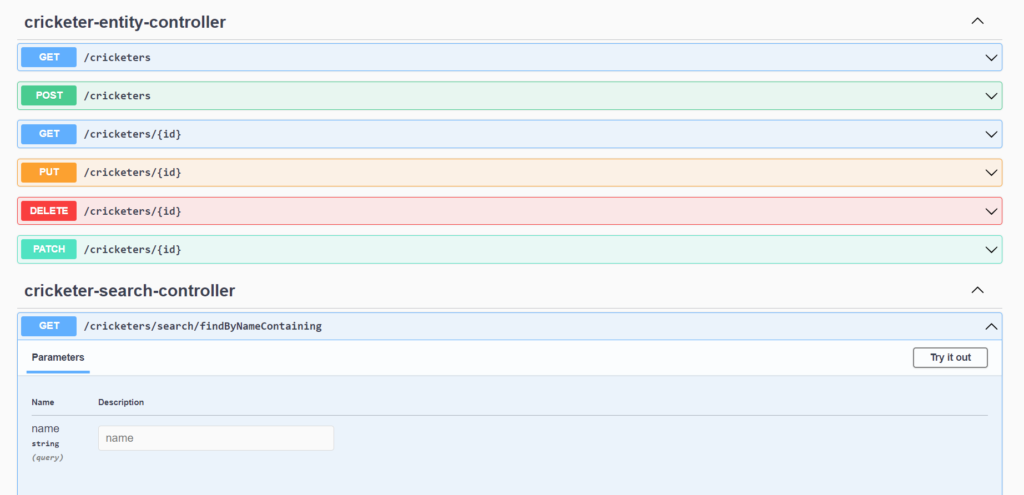
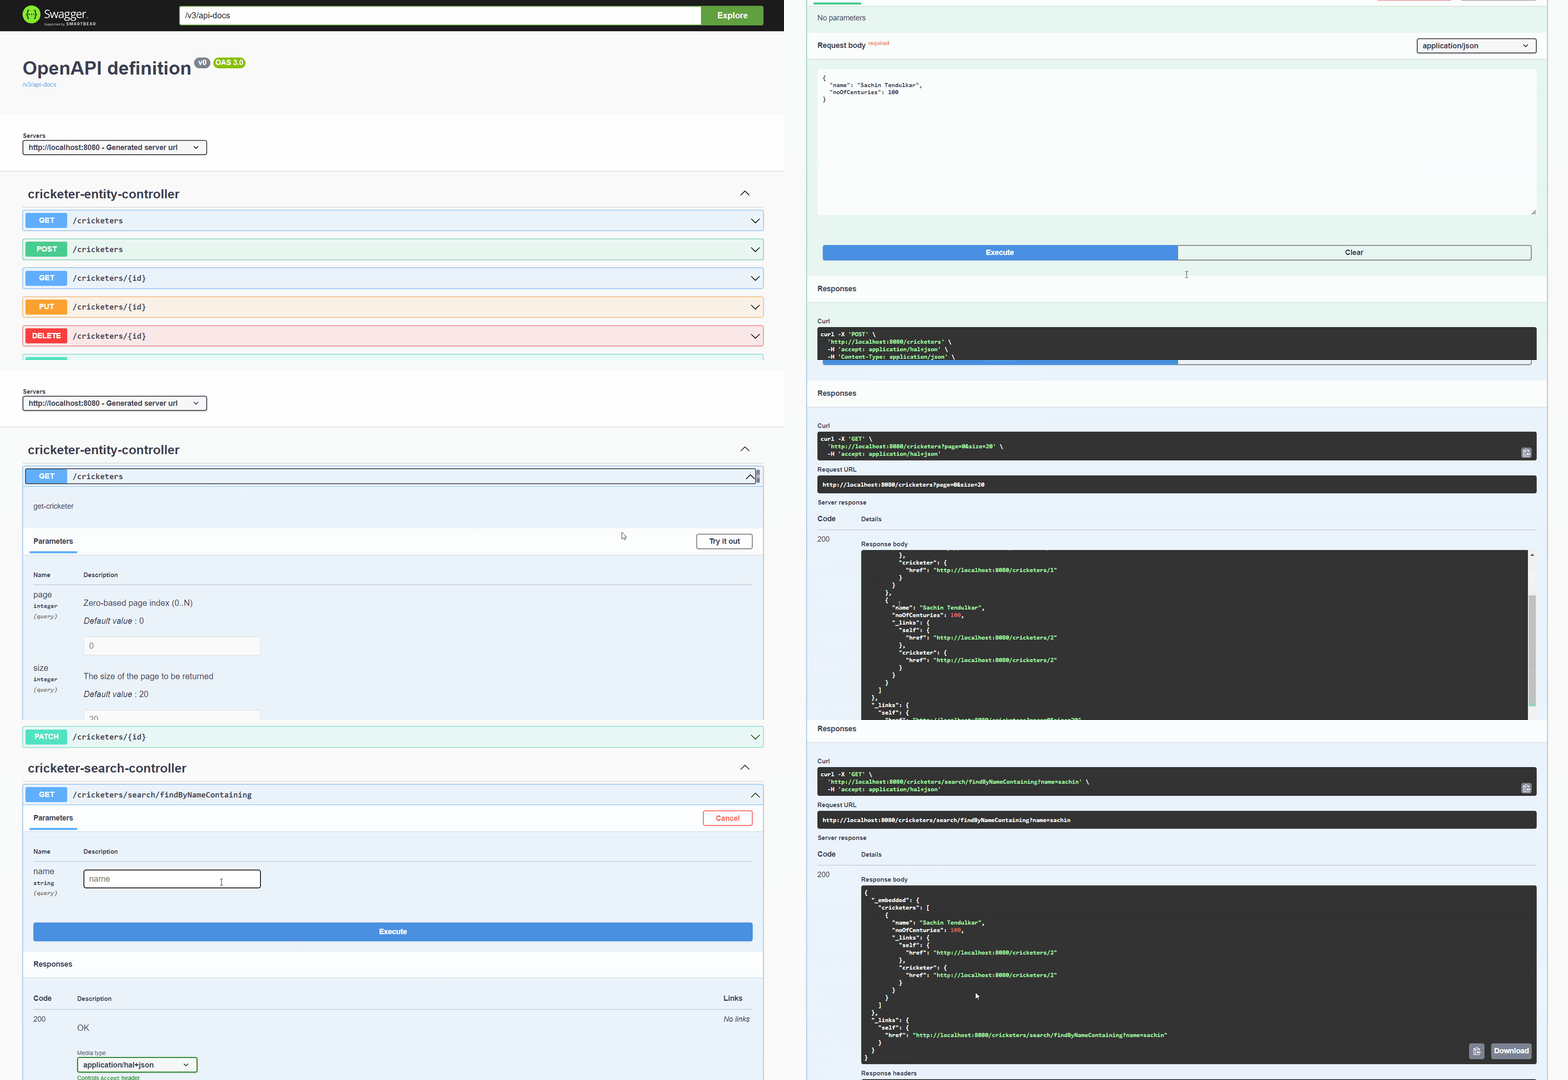
Now, we can access this custom endpoint at: /cricketers/search/findByNameContaining?name=cricketerName.
First, let’s see our Swagger UI where new API is added automatically by Spring Data Rest:
Custom Query Method Demo
Now, let’s see a live demo. In this demo, we will add another cricketer using the post method and search a single cricketer with search method:
Pagination and Sorting
Spring Data REST provides built-in support for pagination and sorting. By default, the endpoints return a maximum of 20 items per page. However, we can customize this behavior by using query parameters.
Pagination
To retrieve a specific page, we can use the page and size query parameters.
For example, to get the second page with 10 items per page, we can make a GET request to /cricketers?page=1&size=10.
Sorting
We can sort the results by one or more fields by using the sort query parameter.
For example, to sort the cricketers by name in ascending order, we can make a GET request to /cricketers?sort=name,asc and for descending order we can send desc instead of asc.
Spring Data REST also supports sorting by multiple fields and specifying the sort order (ascending or descending).
Conclusion
Using Spring Data REST, we can simplify the development of our RESTful API by eliminating the need for explicit controllers and services. With minimal configuration, we can expose our JPA repositories as RESTful endpoints and customize them as needed. Additionally, Spring Data REST provides built-in support for pagination and sorting, making it even easier to handle large datasets.