Apache Tomcat is a free and open-source Java Servlet container, making it a popular choice for deploying Java based web applications. This guide will walk you through installing Tomcat on Windows, Linux, and Mac environments, giving you the flexibility to run your Java applications on your preferred platform.
Prerequisites
Install Java Development Kit (JDK)
Installation Steps
On Windows:
- Download Tomcat: Head over to the Apache Tomcat download page and grab the binary distribution for your system architecture (32-bit or 64-bit). https://tomcat.apache.org/download-90.cgi
- Extract/Unzip: Extract the downloaded
.zipfile and rename the extracted folder to something liketomcat. Choose an appropriate installation directory (e.g.,C:\tomcat). - Set Environment Variables: While not strictly necessary, setting environment variables can simplify future Tomcat interactions.
- Right-click on “This PC” or “My Computer” and select “Properties.”
- Go to “Advanced system settings” and then click on “Environment Variables.“
- Under “System variables,” click “New.”
- Set the variable name to
CATALINA_HOMEand the variable value to your Tomcat installation directory (e.g.,C:\apache).
- Set the variable name to
- Start Tomcat: Navigate to the
bindirectory within your Tomcat installation (e.g.,C:\apache\bin) and double-clickstartup.bat.
On Linux/Mac:
- Download Tomcat: Use your package manager to install the
tomcatpackage.
For example, on Ubuntu/Debian:
sudo apt update
sudo apt install tomcat- Start Tomcat: The specific command to start Tomcat might vary depending on your distribution. Here are some common examples:
- Systemd:
sudo systemctl start tomcat - Upstart:
sudo start tomcat
- Systemd:
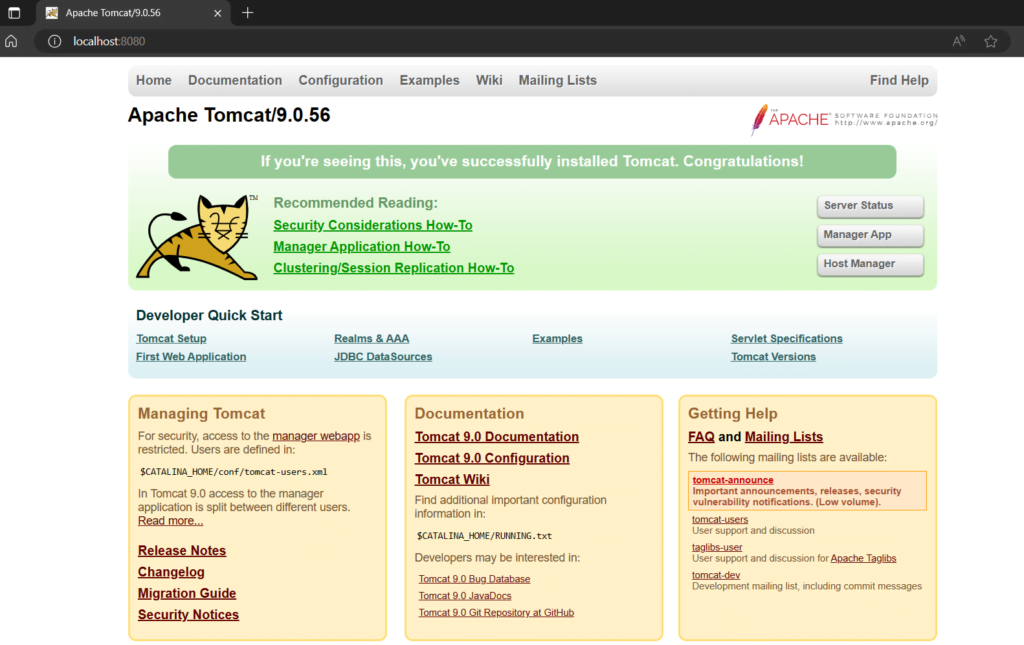
- Verify Installation: Open a web browser and navigate to
http://localhost:8080.
You should see the default Tomcat welcome page.
Example:

By following these steps, you’ll have Tomcat up and running on your chosen environment, ready to deploy your Java web applications!