In this guide, we’ll walk through the steps to host static website on S3 AWS. A static website typically consists of HTML, CSS, JavaScript, and other static assets.
Table of Contents
Prerequisites:
- AWS Account:
- Ensure you have an AWS account. If not, you can create one at AWS Console.
- Static Website Files:
- Prepare your static website files (HTML, CSS, JavaScript, images, etc.) in a local directory.
Step 1: Create an S3 Bucket:
- Navigate to S3:
- Go to the AWS S3 Console.
- Create Bucket:
- Click “Create bucket.”
- Enter a globally unique bucket name. In our example, testbucket.codersathi.com
- Choose the AWS region for your bucket.
- Click “Create bucket.”
- Bucket Should Be Ceated Successfully
Step 2: Enable Static Website Hosting:
- Select Bucket:
- After creating the bucket, select it from the S3 bucket list.
- Go to Properties:
- Click on the “Properties” tab.
- Enable Static Website Hosting:
- Scroll Down
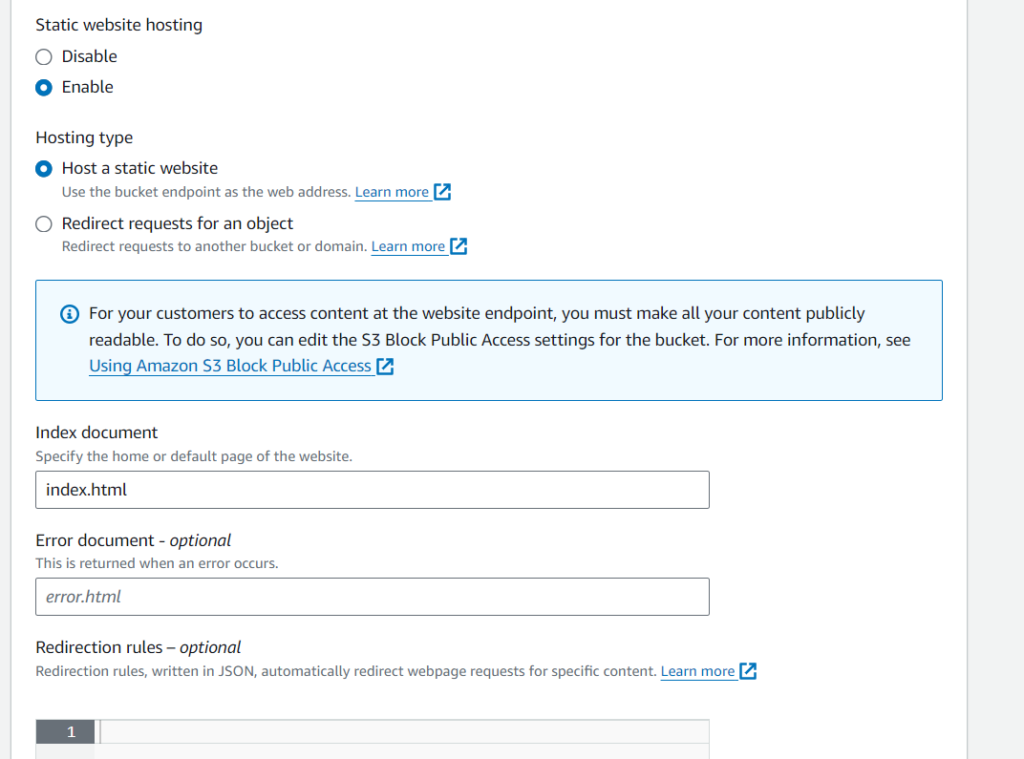
- Under “Static website hosting,” click “Edit.”
- Static website hosting, select Enable
- Hosting type: Select Host a static website (This option should be selected by default if not you can select)
- Set the “Index document” to
index.htmlor your preferred homepage. - Optionally, set the “Error document” for custom error pages.
- Click “Save changes.”
Step 3: Upload Website Files:
- Go to “Objects”:
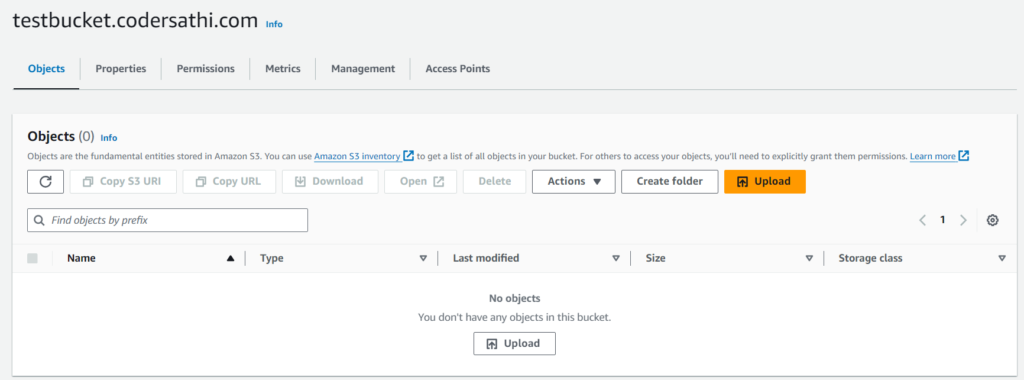
- Navigate to the “Objects” tab of your S3 bucket.
- Upload Files:
- Click “Upload.”
- Select and upload your static website files.
- Ensure you set the correct permissions for public access.
Step 4: Configure S3 Static Website Bucket Policy:
- Go to “Permissions”:
- In the S3 bucket settings, click on the “Permissions” tab.
- Block public access (bucket settings):
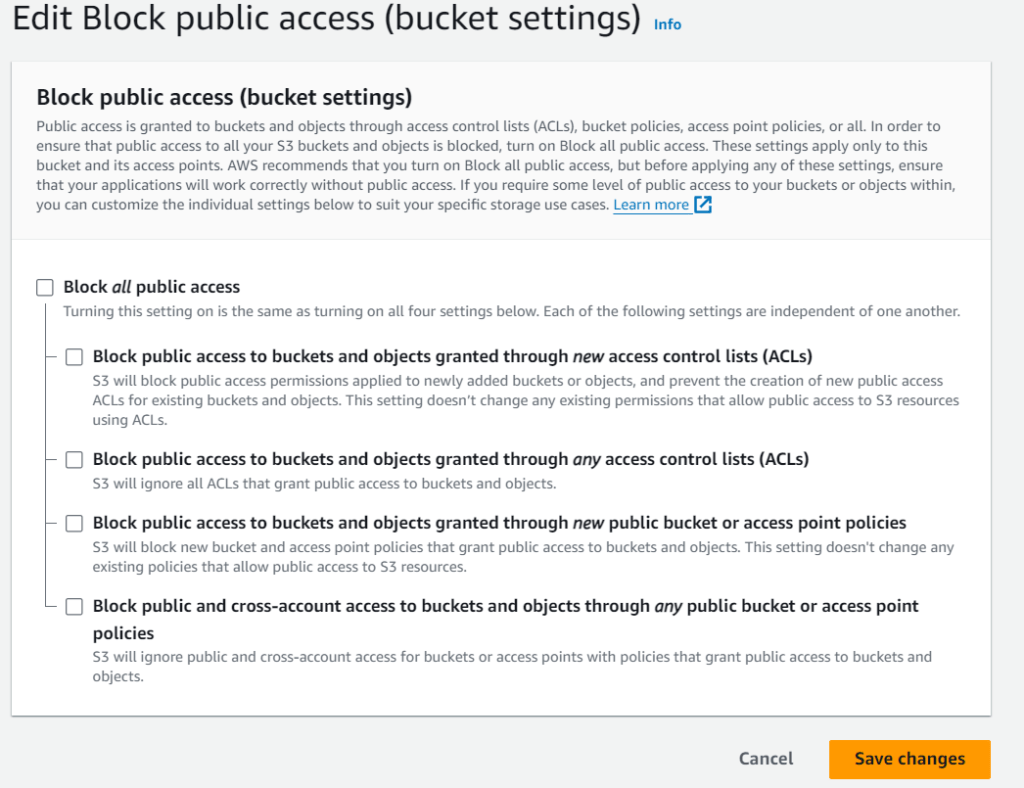
- Under Block public access (bucket settings) click “Edit”.
- Uncheck Block all public access
- Click Save changes.
- You may need to confirm it by typing
confirmon the dialog box.
- Bucket Policy:
- Scroll down to “Bucket policy” and click “Edit.”
- Add Bucket Policy:
- Add a bucket policy to allow public read access to your website files. Replace testbucket.codersathi.com with your actual bucket name.
{
  "Version": "2012-10-17",
  "Statement": [
    {
      "Effect": "Allow",
      "Principal": "*",
      "Action": "s3:GetObject",
      "Resource": "arn:aws:s3:::testbucket.codersathi.com/*"
    }
  ]
}- Save Changes:
- Click “Save changes” after adding the bucket policy.
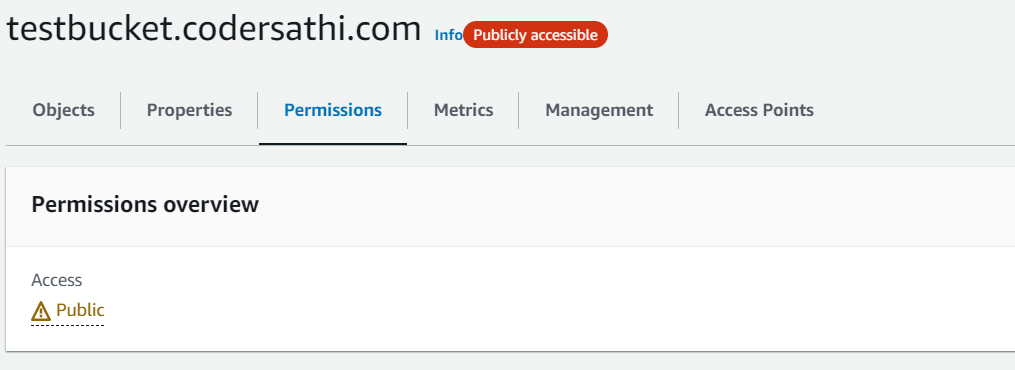
- After saving chanes refresh your browser and you may see
Publicly accessiblebadge for your bucket. See the image below:
Step 5: Obtain Website Endpoint:
- Go to “Properties”:
- Return to the “Properties” tab of your S3 bucket.
- Find Endpoint:
- Look for the “Endpoint” URL under “Static website hosting.”
- In our case
http://testbucket.codersathi.com.s3-website-us-east-1.amazonaws.com/is the endpoint.

Step 6: Test Your Website:
- Open Website Endpoint:
- Open the provided website endpoint URL in your browser.
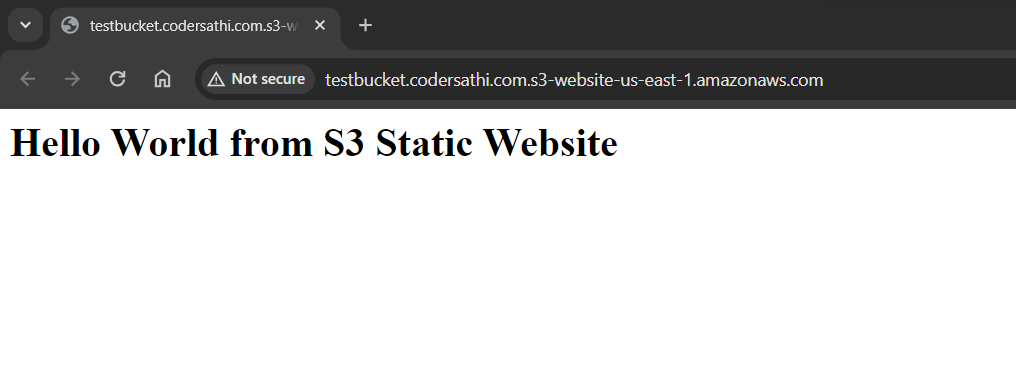
Congratulations! Your static website is now hosted on AWS S3. You can update your website by uploading new files to the S3 bucket. Ensure that your files have the correct permissions for public access to maintain a public-facing website.